How Tos
Step by Step Guides
Follow along with these step by step guides if you are needing a refresher on how to update webpages.
As an layer of protection I won’t post the url for logging in on this page. Please contact us for the url to log in if you don’t remember.
- Once you are at the login page click on the blue MS-Entra button at the top. Do not use the first username and password box that you see and do not reset your password from this screen.
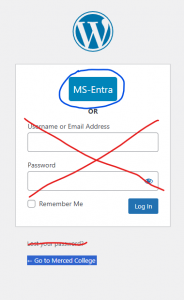
- Enter your district credentials to login
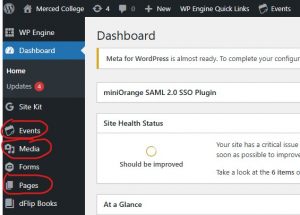
- The tabs that you will be working with are Event, Media, and Pages. The rest should be left alone unless you have specific training otherwise.
- Once you are logged in, to edit a page first go back to the user facing website by clicking the Merced College button at the top left of the dashboard.
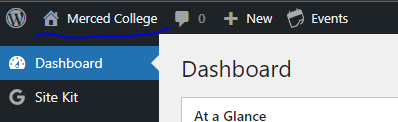
- This will take you back to the homepage of the Merced College website. from here navigate to the page that you need to update. Once you are on the page you need to edit click on the “Edit Page” button in the top black bar. If you do not see the Edit Page button then contact the web admin to update your role or to schedule training.

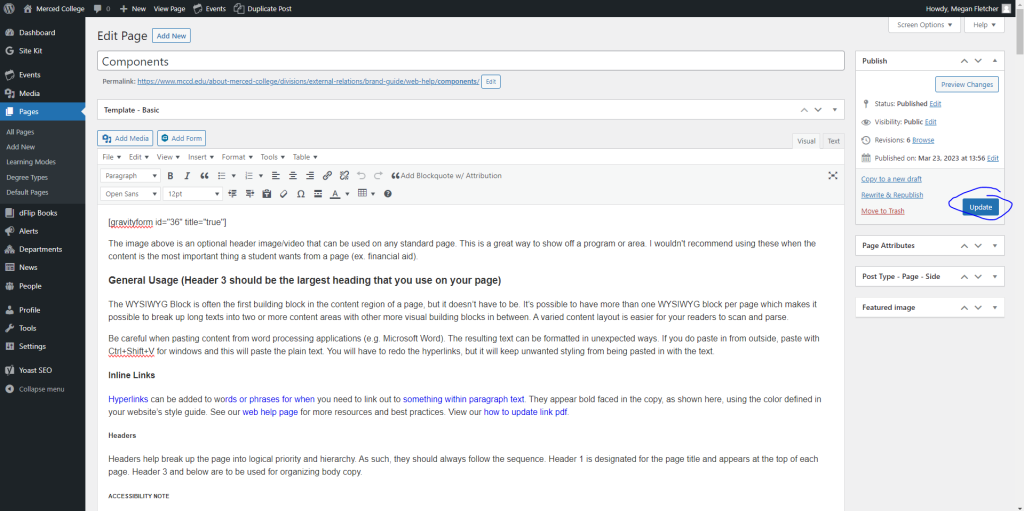
- Once you have made the changes that you need to update the pages to the live site by clicking the “Update” button in the top right publish box in the editor.
- You can now view the live page to check the changes that you made. Either with the “View Page” button in the top black bar or a small popup will appear when you publish a page. (TIP: If you hold CTRL while you click on the button it will open the page in a new tab. I like to do have both pages open so that I can edit and check my changes quickly. Just refresh the live page every time you make an update to see it.)

- Once you are logged in and on the page that you need to edit (follow the above guides if you need help doing this). You can get to the media folder in two ways:
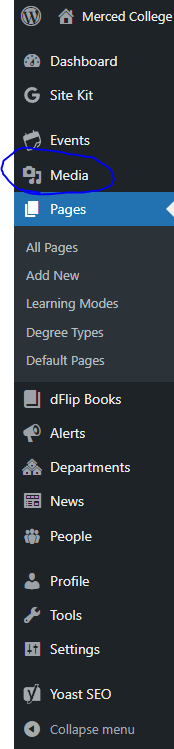
- Hold down CTRL and click on “Media” from the left hand menu.
- Right click “Media” and select “Open link in new tab” from the left hand menu.
- Once you have it open in a new tab search for the folder for you area. If you don’t see a folder contact the web admin to help you create one.
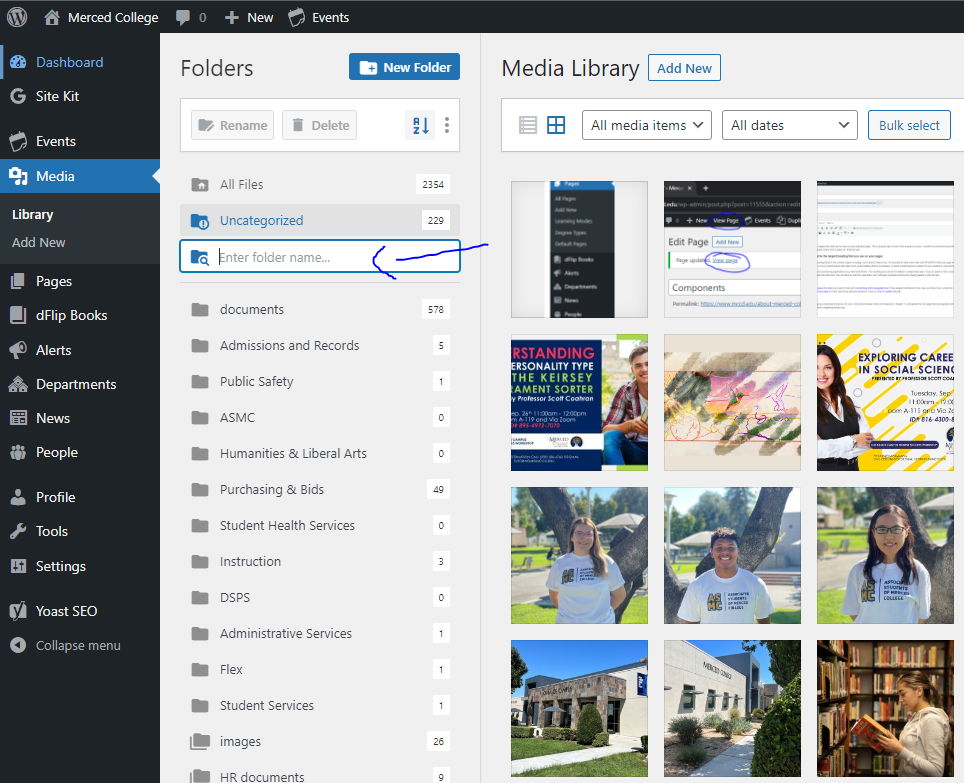
- Now that you are in your folder either drag and drop the file from you computer on this screen or select ” Add New” from the top and upload the file.
- Once your file has finished uploading it will appear as a new thumbnail in the list. (Note: Some pdfs with images show up with a black background in the thumbnail, but the file itself will be fine. Just check it once you add it to your page to be sure).
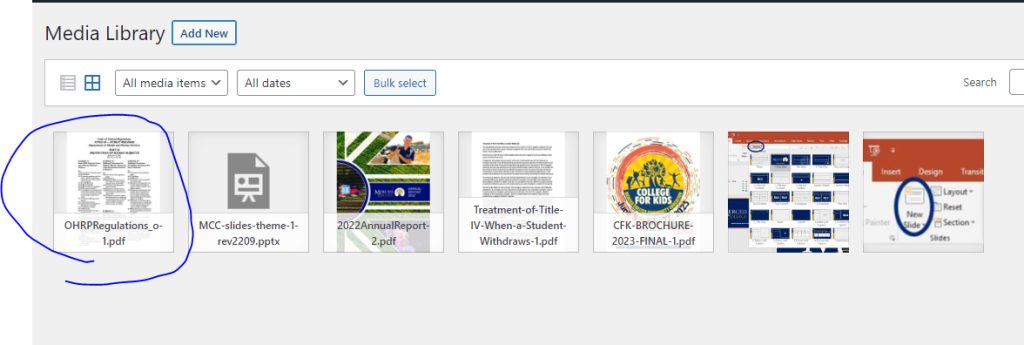
- Next, select the file that you uploaded and click the ” Copy url to clipboard” button.
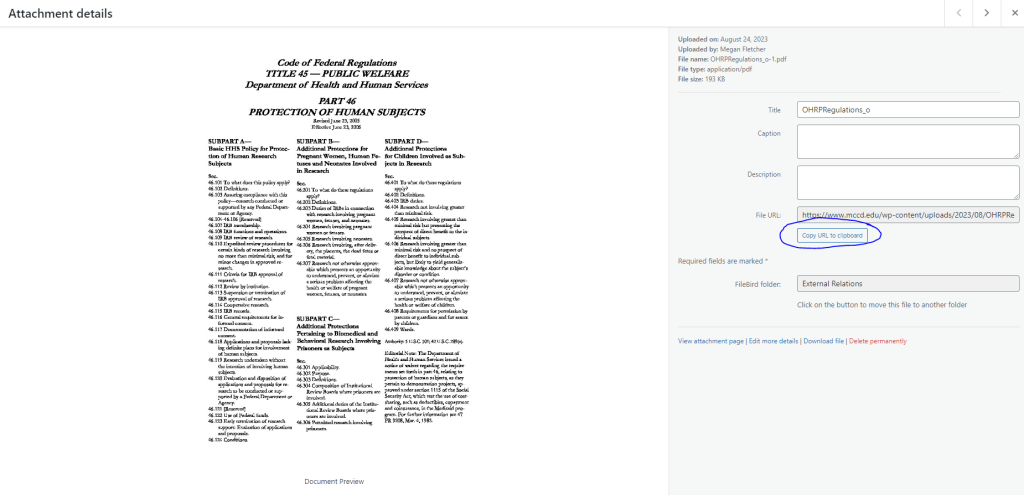
- Return to your tab where the page editor is open and you can update the url whether it is an inline link or in a component (follow the next tutorial if you don’t remember how to do this). Then Updated your page and check that the live version is accurate. You may need to clear your cache if it is the old file that is showing up.
Updating a Link
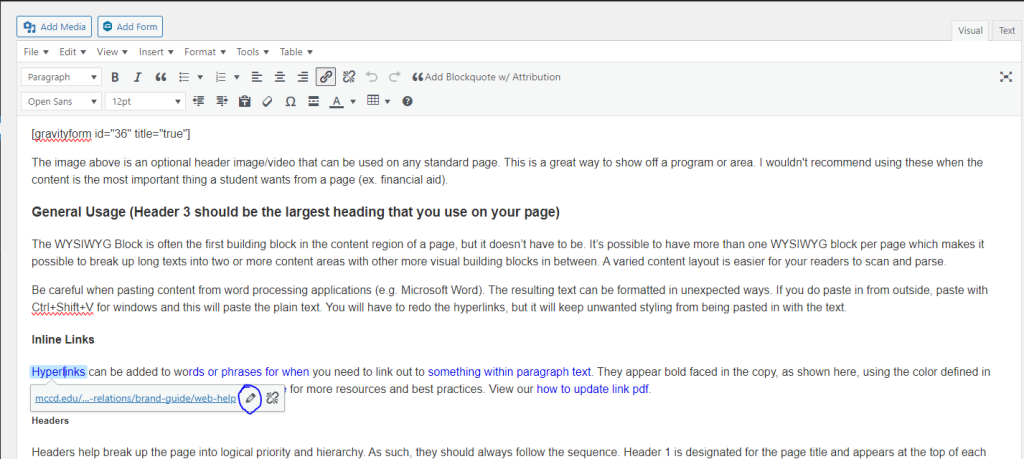
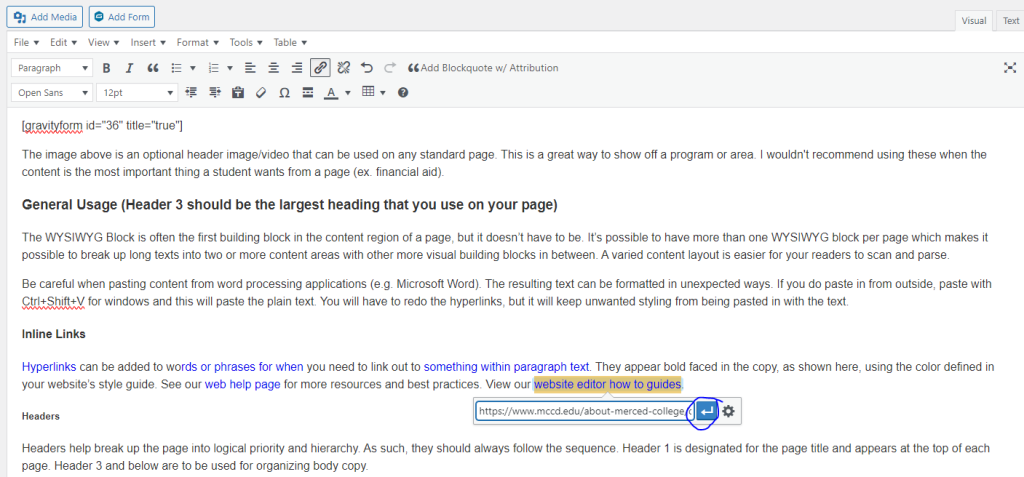
- Once you are logged in and on the page that you need to edit (follow the above guides if you need help doing this). Find the link that needs to be updated and click on it. You will see a small window popup near the link. Press the edit pencil.
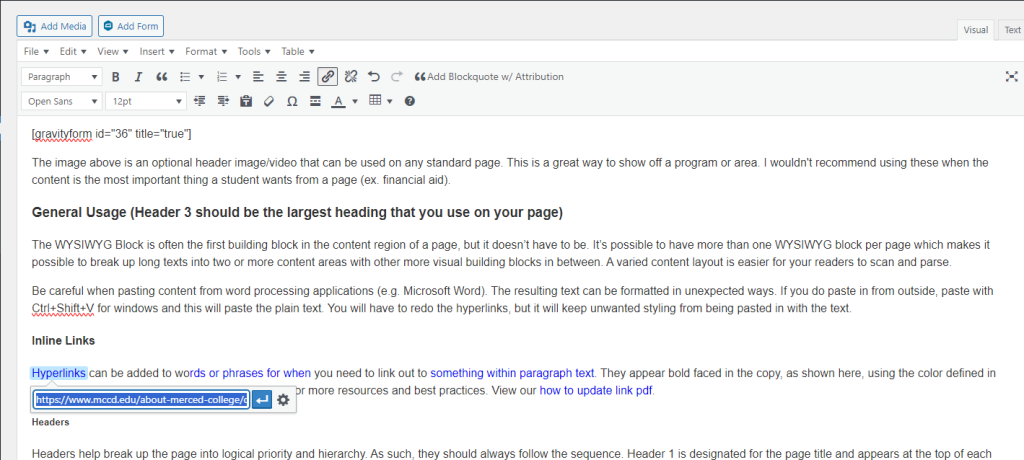
- Paste in the new link url and select the blue arrow button or press enter on your keyboard.
- Update the page from the publish box and check your new link.
Creating a New Link
- Once you are logged in and on the page that you need to edit (follow the above guides if you need help doing this). go down to the section of text that you would like to add a new link to. Highlight the words that you would like to turn into a link then select the link button from the tool bar or Press CTRL+K.

- You will see a small box appear and here is where you will paste the URL. Enter the blue apply arrow or press enter on your keyboard when you are done.
- Update the page from the publish box and check your new link.
Updating a Link
- Once you are logged in and on the page that you need to edit (follow the above guides if you need help doing this). Find the link that needs to be updated and click on the pencil.
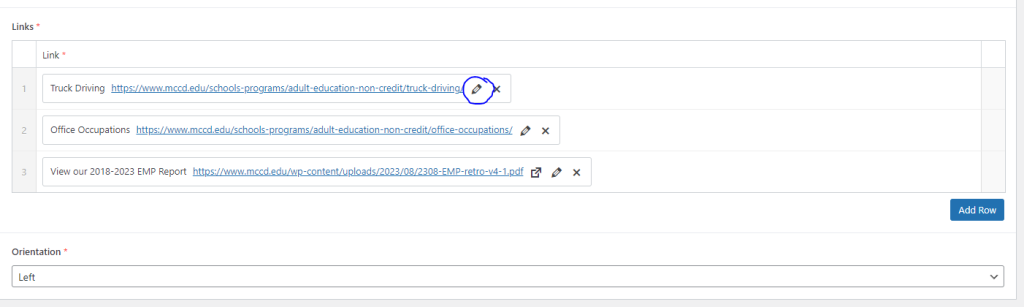
- Update the URL and/or Link Text fields and press update.

- Update the page from the publish box and check your new link.
Creating a New Link
- When adding a new link to a component field find the component in the editor that you need to add one to. There will be a built in button “Add Link” select that and then add the URL and Link Text like the steps above. (NOTE: some components will only allow so many links).
